How to Integrate OpenClaw
This document is intended for OpenIMSDK users. It explains how to connect OpenIMServer through OpenClaw Gateway and verify the integration by sending the first message.
1. Prerequisites
- You have already deployed OpenIMServer and ChatServer, deployed and started OpenClaw Gateway, and can run the
openclawcommand on the machine where Gateway is running.
2. Register an OpenClaw User
1. Register a user
Log in to the admin console. The default address is http://server_ip:11002, where server_ip is the IP address where open-im-server is deployed.
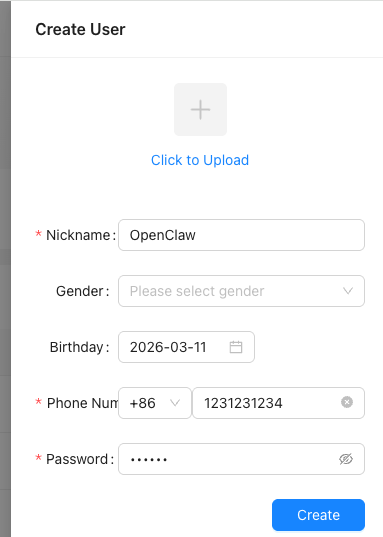
Select User Management -> User List, then click Create New User on the right:

Enter the account information:
Get an admin token
Refer to the Get Admin Token document to obtain an admin token.
Get a user token
After obtaining an admin token, refer to the Get User Token document to issue a login token for the specified user. Set userID to the userID of the user you just registered, and set platformID to 12 (which indicates bot).
3. Install the OpenIM Channel Plugin
openclaw plugins install @openim/openclaw-channel
Plugin URL: https://www.npmjs.com/package/@openim/openclaw-channel
4. Enable the Plugin and Configure OpenIM Channel
Method A: Interactive setup (recommended)
openclaw openim setup
Follow the prompts to fill in token, wsAddr, apiAddr, and other information.
Method B: Edit the configuration file directly
Edit: ~/.openclaw/openclaw.json
Example:
{
  "channels": {
    "openim": {
      "accounts": {
        "default": {
          "enabled": true,
          "token": "your_token",
          "wsAddr": "ws://127.0.0.1:10001",
          "apiAddr": "http://127.0.0.1:10002"
        }
      }
    }
  }
}
5. Verification: Send the First Message
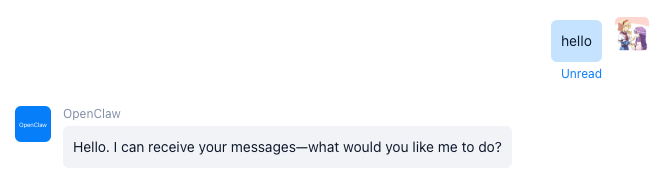
In OpenIM, search for the corresponding bot account by userID, then send a message to verify whether it can auto-reply.
If the other side successfully receives the message, OpenClaw has completed integration with OpenIM.
6. FAQ
- OpenIM is not connected: This is usually caused by incorrect
token,wsAddr, orapiAddrconfiguration, or by network inaccessibility. First verify the configuration, then troubleshoot based on OpenClaw Gateway logs.